EVTPlugins, rewrite by Martin
pyevt - A python binder for the Event-Exchanger EVT-2 USB hardware
GitHub link: https://github.com/markspan/evtplugins
Adding to the set of OpenSesame toolbox items to use hardware developed by the University of Groningen, faculty of Behavioural and Social Sciences, department of Research Support, in OpenSesame.
Code Written by Eise Hoekstra and Mark M. Span, Maintained by Mark M. Span
Start OpenSesame Open the console (ctrl-D) of OpenSesame, and type:
!pip install evtplugins --user
and then, if this results in success, close OpenSesame, and open it again.
If all went well, the plugins are now available in your toolbox.

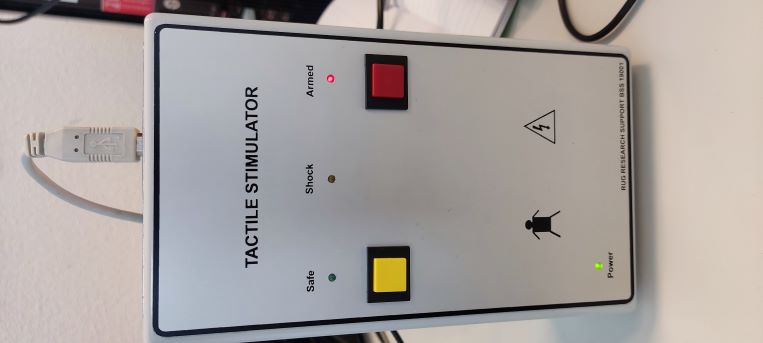
The tactile stimulator is a device that can be used to administer unpleasant tactile feedback to a subject.

This maximum value of the applied current is 5 mA, which is reached when a byte with value 255 (being 100%) is sent to the Tactile Stimulator. When a 0 is sent, the current will be 0 mA. This value can (and should) be limited by a careful calibration procedure!
When using the Tactile Stimulator the first thing to do is to run a calibration. This will limit the current send to the subject to a maximum, that is being calibrated to the subjective experience of the subject.
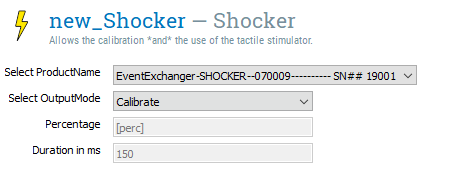
You do so by dragging the plugin into you experiment. The configuration pane looks like this:

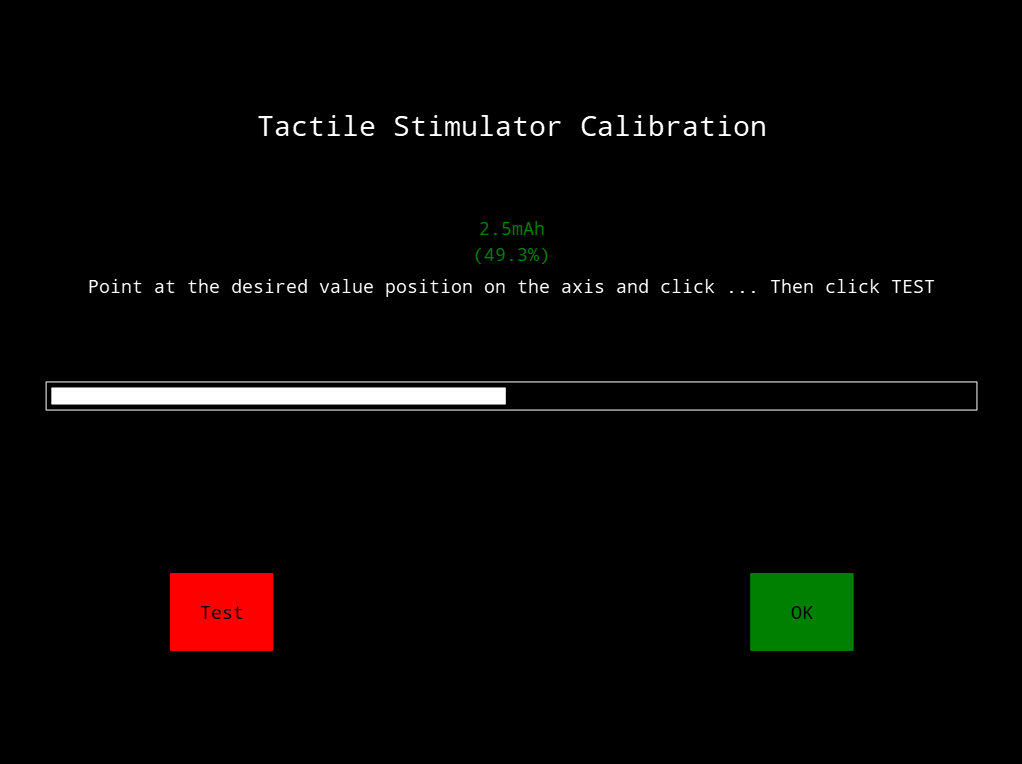
Running this plugin in the ‘calibration’ mode (as seen above) will lead to the view below:

Clicking (with the mouse) on the bar in the middle of the screen will change the values for the maximum current to be used in the experiment. The newly chosen values are readable in the green field on this screen.
Pressing the red “Test” button will administer this current to the subject. The calibration procedure will entail a steadily increasing current, and getting feedback from the subject on the subjective experience. The shock should probably be annoying, and should definitely not hurt. After each “Test” shock, a pause of 8 seconds will start, with the button turning blue. During this pause no test shock can be administered. This is to prevent accidental repetitive shocks.
When the calibration value is acquired, the green “OK” button can be pressed, and the calibration value is accepted. Your task will now continue.
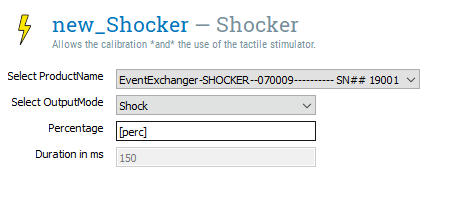
Dragging a second “shock” plugin to the task, will enable the administering of shock upto the calibration value to your subject. The calibration screen in “shock” mode will look like this:

Main thing to note here is (next to the selection of the actual device: “Productname”) is the activation of the ‘Percentage’ field. This field can be filled with a number between 0 and 100, and is used as a index, leading to a shock to be administered to the subject, with a current that is defined as a percentage of the calibration value.
So if the calibration led to the selection of a value of 2.5mAh (50%), setting the “Percentage” field to e.g., 30% will lead to a shock with a current of 30% of the calibration value of 2.5mAh!
The plugin will not allow fast repetitions of the shocks, as they usually are not what the researcher wants (or at least should want). The default minimum ISI (inter-shock-interval) is 1 second.
pyevt - A python binder for the Event-Exchanger EVT-2 USB hardware
PolarBand2lsl
EventExchanger
MAPS OF THE THE VARIOUS LABS
click on :
EventExchanger
EventExchanger
Hosting Javascript
Hosting Javascript
EventExchanger
Github link: https://github.com/markspan/Alakazam
Here I will be introducing ALAKAZAM